Render
Render a 3D view
Turn a screenshot of your 3D model into a photo-like render. It follows your lines, camera and layout. Check doors and windows before you send it.
Step by step
Upload an image
On Projects, drop it in the box. In a project, press the + at the end of the strip, or drop or paste it on the page. PNG, JPG or WebP.
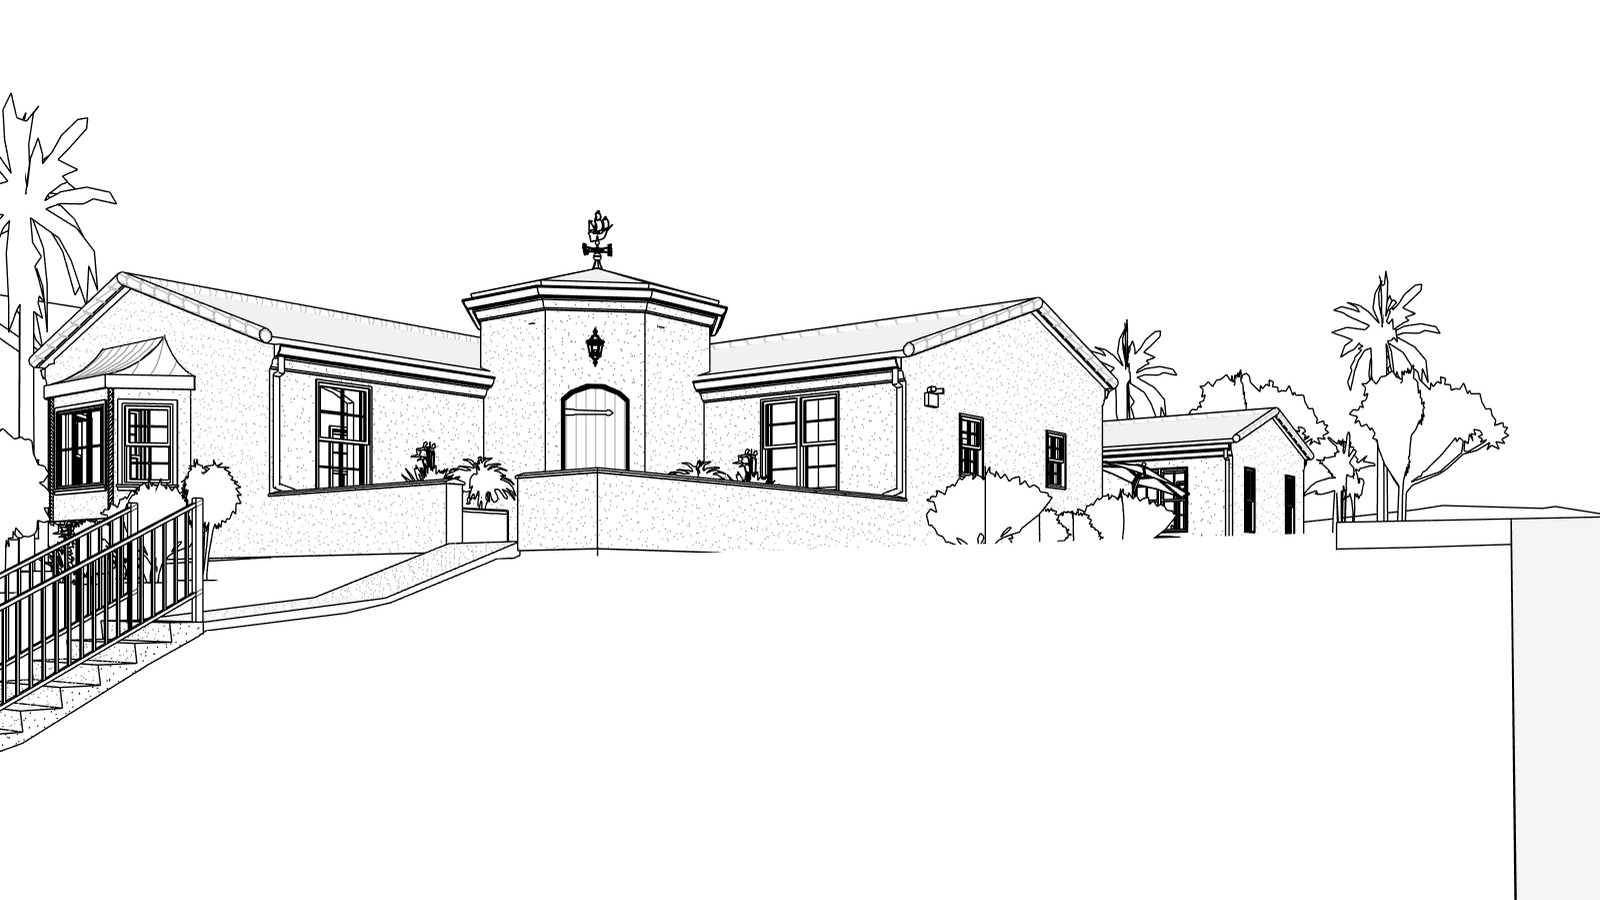
A plain Revit view. Render adds the materials and light. Pick Interior or Exterior
Under Render settings, Scene tells Render what it’s looking at. Auto reads it from your view.
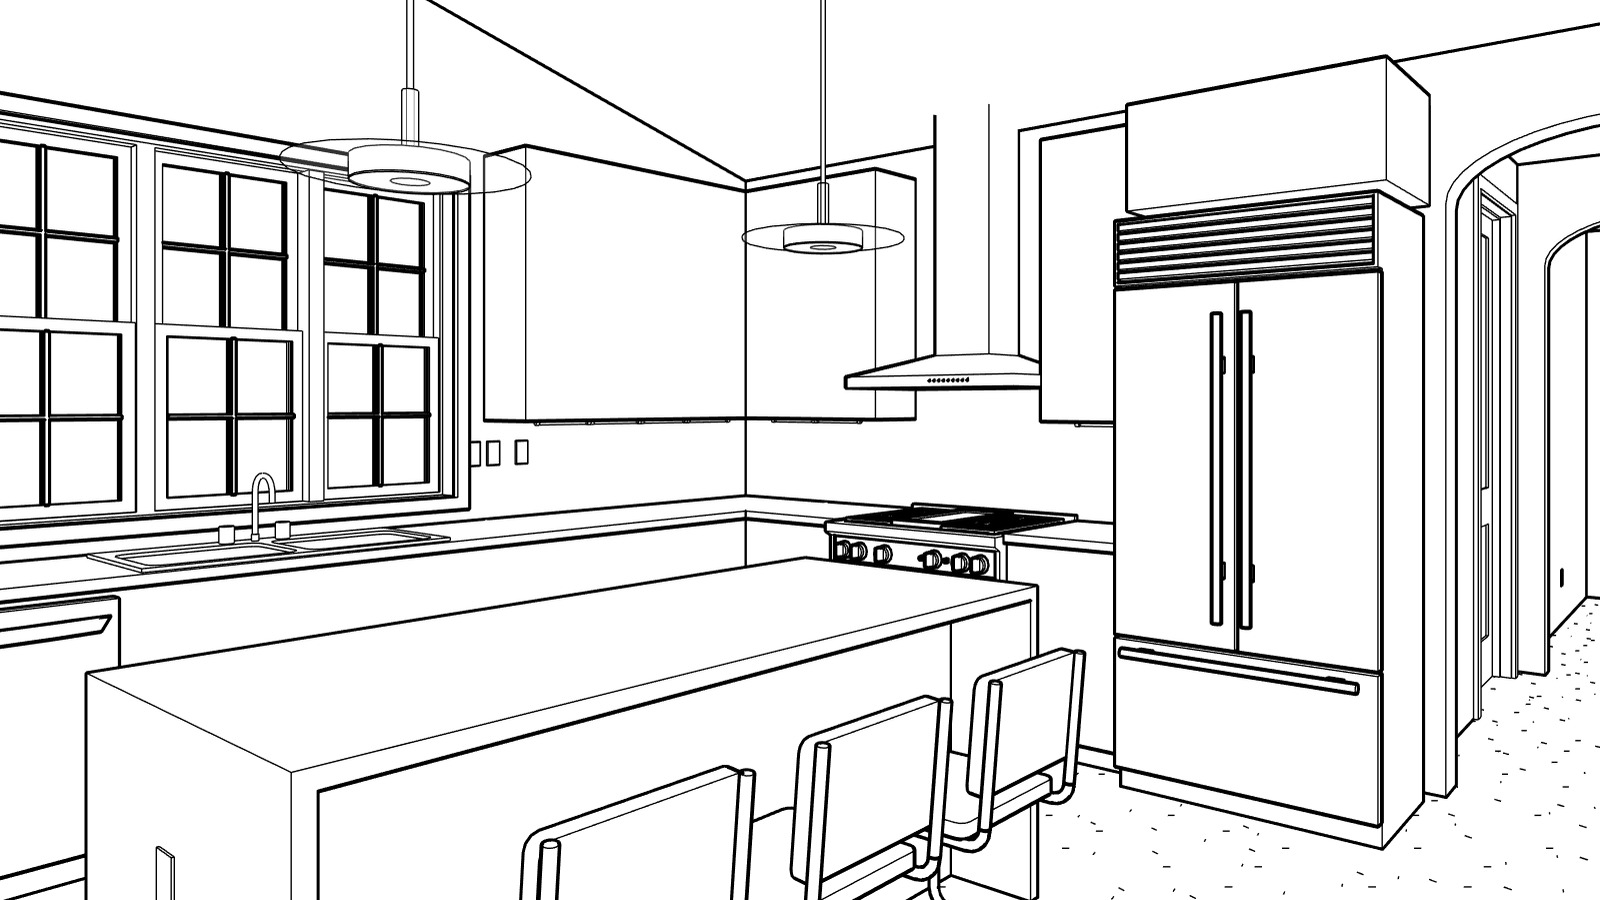
A room like this one: pick Interior. Set the light and the look, if you like
Pick a Time of day and a Weather under Render settings. Describe the look in a few words in the box under the picture. Ratio, next to the box, sets the shape; Auto keeps your view’s. Leave it all on Auto for the default look. Add a style gives the render a ready look, like Warm timber or Watercolor. Picking one is free. Only Render uses credits.
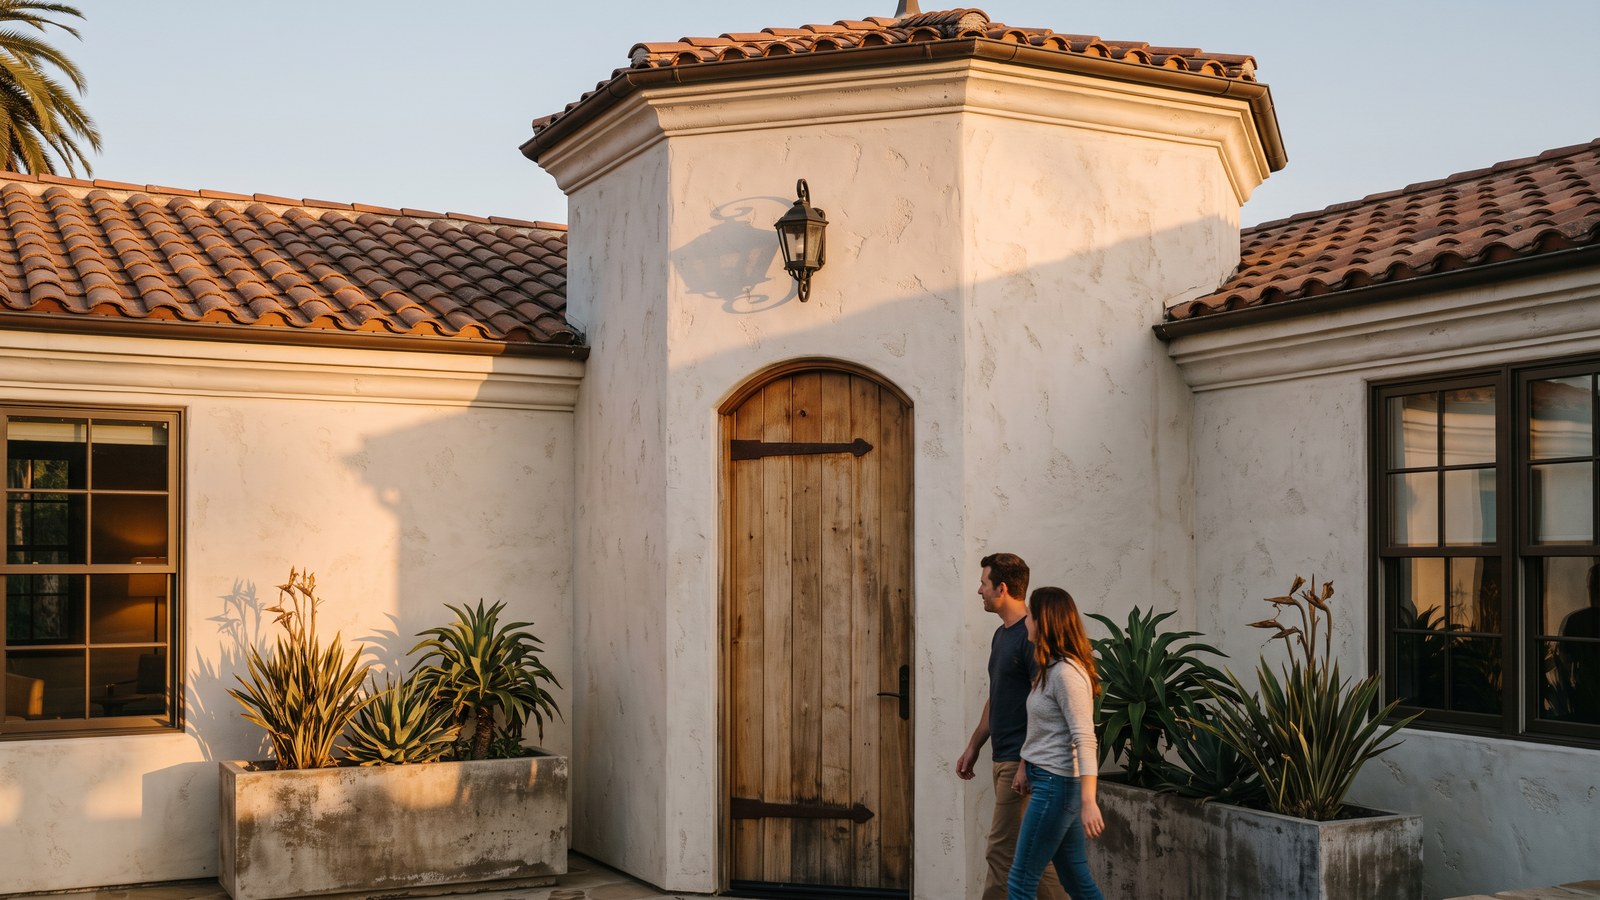
Time of day: Golden hour. Press Render
Each press makes one render. The button shows the price: Render · 2 credits. It’s usually ready in under a minute and shows up first in the strip.
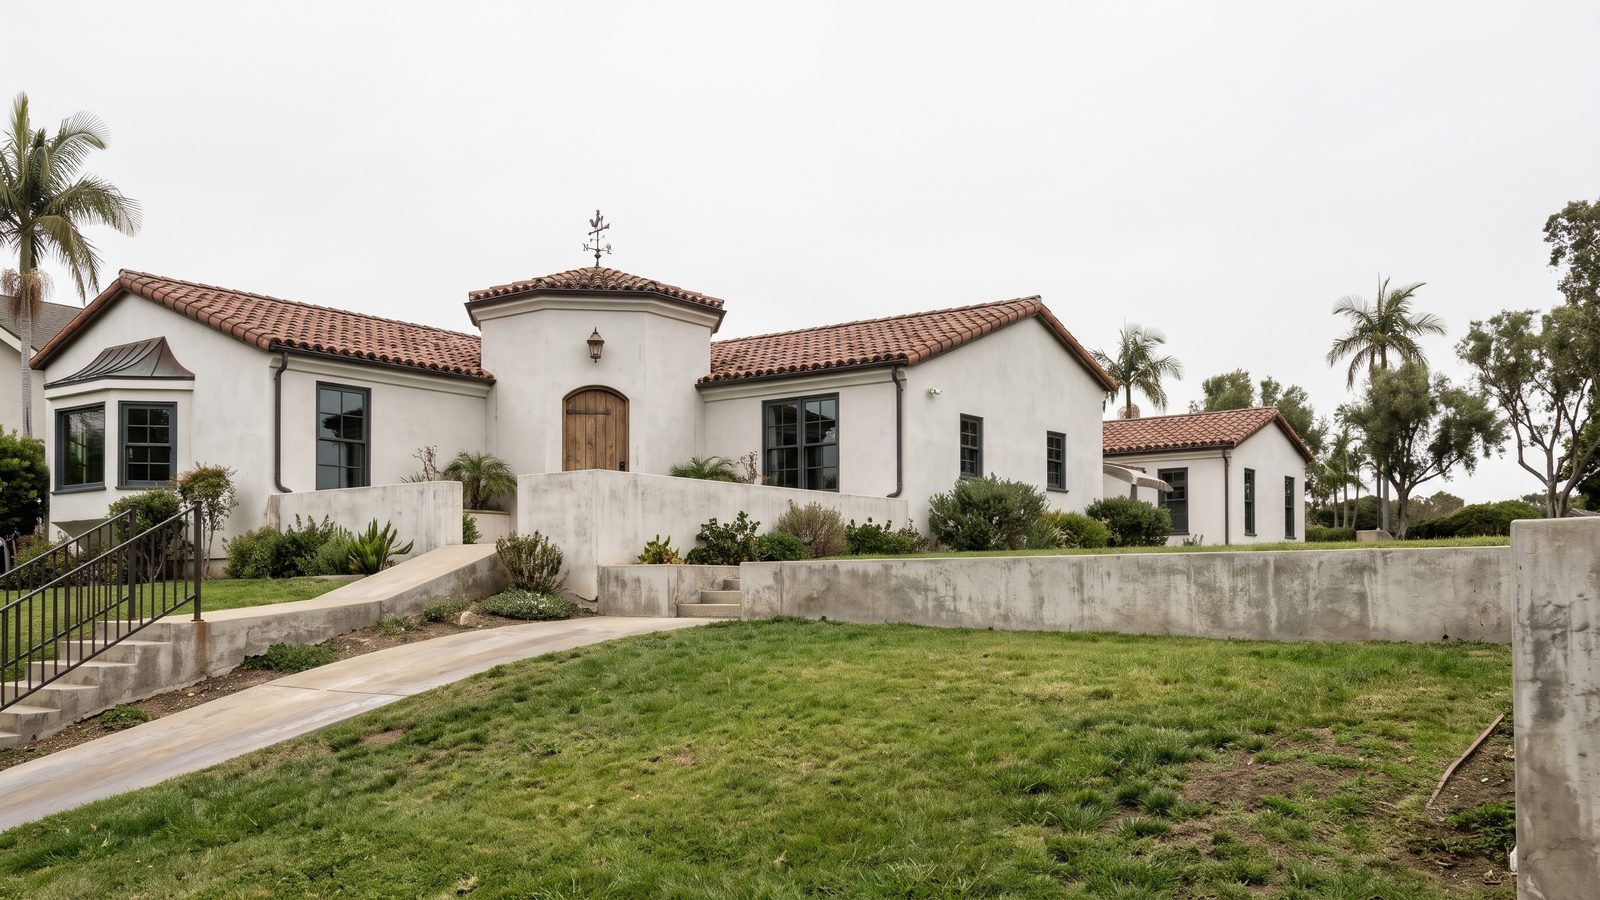
The render of the view in step 1. Download
Check doors and windows against your view. Then press Download under the picture to save it.
BeforeAfterThe view from step 1 and its render. Drag the handle to see both.
Words that work
The prompt is optional. When you use one:
- Describe the result, not the steps: “oak floor, white walls, soft daylight”.
- Name the materials and the light: “white stucco, red tile roof, overcast morning”.
- Keep it short. A few words beat a paragraph.
- Skip “realistic” and “4K”. Renders look like photos already, and Upscale 4K comes after.
- If part of your design changed, name it in the prompt and render again.
- Golden hour adds two people to an exterior, for scale. To leave them out, try typing “no people”.
- Not sure what to type? Press ✦ Ideas next to the box for a few looks written for your view. Press one to put it in the box, then change it as you like. Ideas don’t use credits.
- Want something that isn’t in your model? Render first, then add it with Edit.
What to upload
Any image of your design: screenshots from SketchUp, Revit or Rhino, exterior, aerial and interior views, clay models, sketches, plans, sections, elevations or photos. PNG, JPG or WebP.
Remove dimension lines before uploading your image. The AI engine can read them as real objects, like lamp posts. For a PDF, take a screenshot of the 3D view.
Your renders and render source
- The strip on the left shows the project’s renders and edits, newest first, with your 3D views under Render source. Pick one to see it big. On a phone, the strip sits under the picture. Every render and edit is also in Gallery.
- Render source is the view your next render starts from. Pick another view in the strip, or press the + at its end to add one. To render from a finished render, pick it and press Use as Render source under the picture.
- Press ♡ Favorite under the picture to keep a render. In Gallery, Filter, then Favorites, shows only those.
- To start another project, go back to Projects and press New project. This one stays saved.